1. DRS Project Setup
This chapter explains how to set up a new DRS project, including the cloud storage, Google Form, Google Spreadsheet and site tablets.
The DRS setup consists of three main components:
A project folder in Google Drive.
A Google Form used for data collection.
A Google Spreadsheet used to store and review the submitted data.
1.1. Creating the Project Folder
The current DRS data is stored in a main Google Drive account.
Note
Contact geospatialdata@pre-construct.com to obtain the required credentials.
Open the main Google Drive DRS account.
The internal folder structure of Google Drive is the same as that used on the local server project folder, with a subdivision in counties, towns and sites.
Create a new project folder for your project. If a subdivision into areas is planned, consider using the same subdivision in the folder structure.
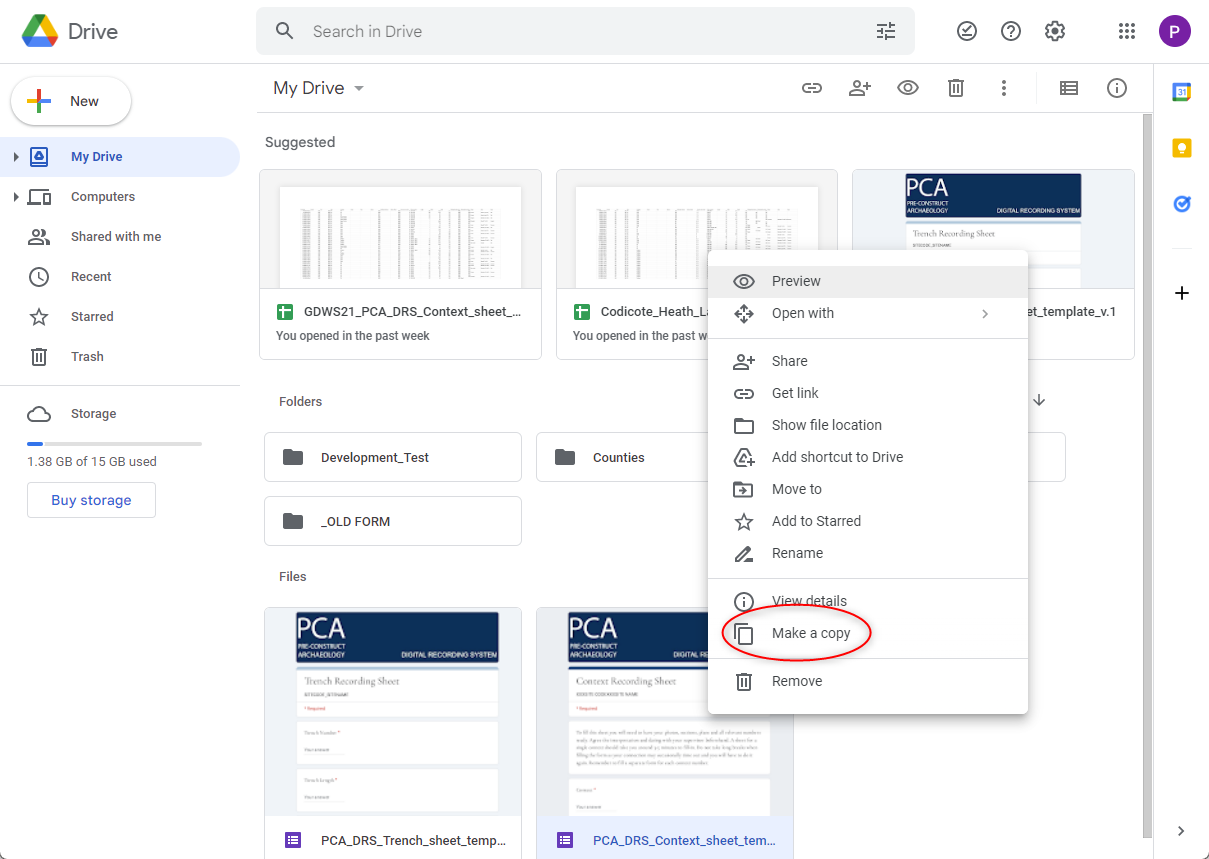
Right-click on the DRS Form template located in the home folder and select Make a copy.
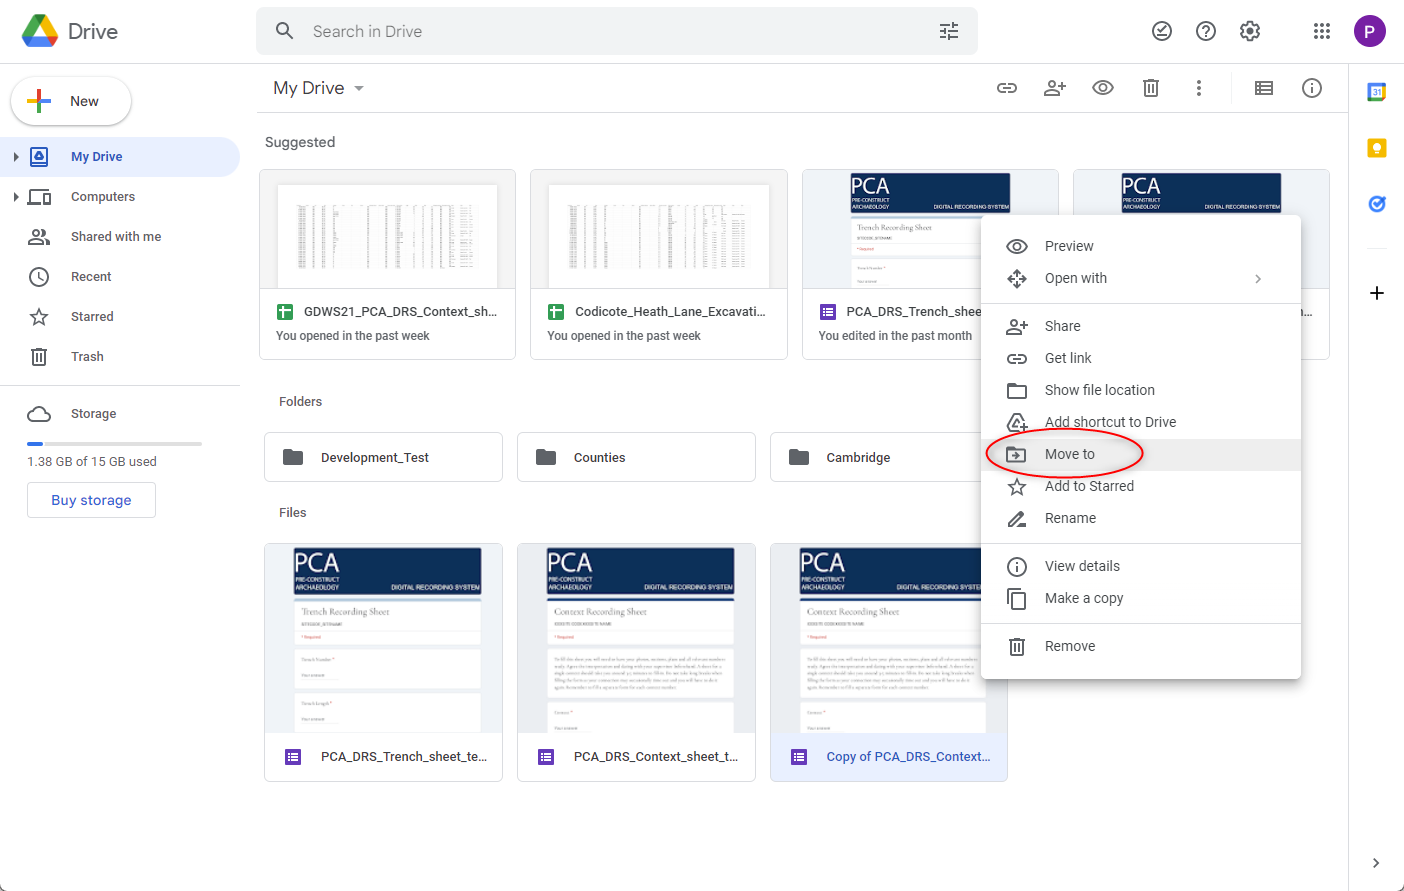
Move your copy into the project folder. Right-click on the form and select Move to.
Go to your project folder and rename your copy of the Form template with your Site Code and Site Name, for example LNDBKP22_London_Buckingham_Palace_PCA_DRS_Trench_sheet or LNDBKP22_London_Buckingham_Palace_PCA_DRS_Context_sheet.
1.2. Setting Up the Form and Spreadsheet
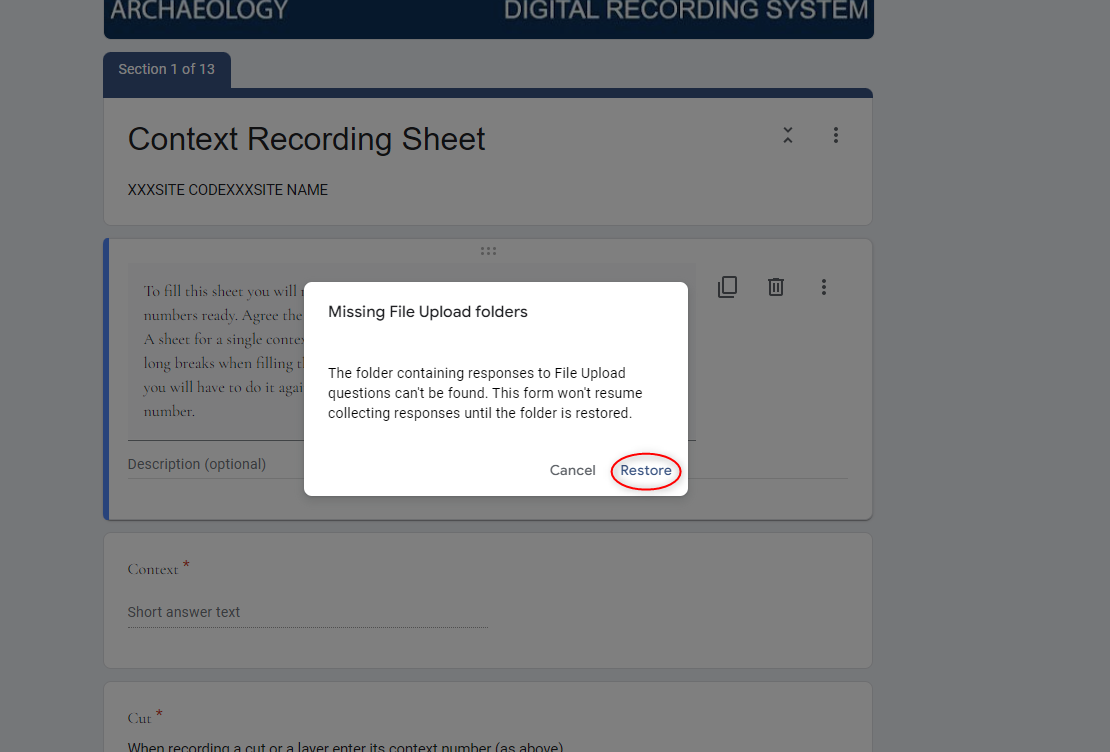
Open the Form. When the Form is opened for the first time, a message will appear asking you to restore the Missing File Upload folders.
These are the folders where images used as attachments, such as sketches or feature overview photos, will be stored.
Press Restore to allow Google to automatically create the required subfolder structure.
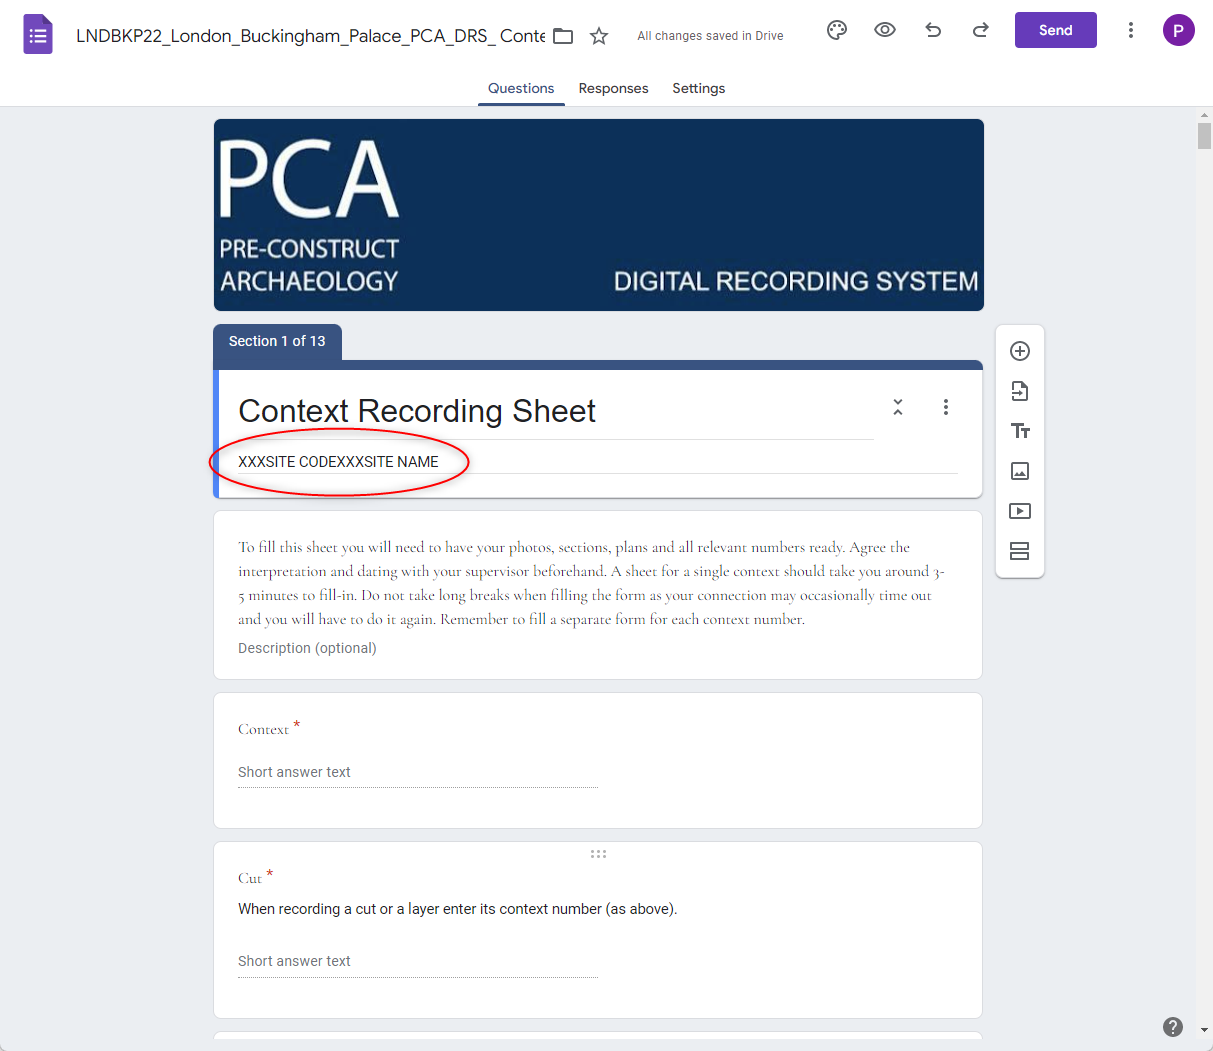
In the top part of the Form, add your SITECODE and SITENAME.
The Form is now ready. The next step is to create the associated Google Spreadsheet that will collect all the data generated by the Form.
On the Form, select the Responses tab and click on the Spreadsheet icon.
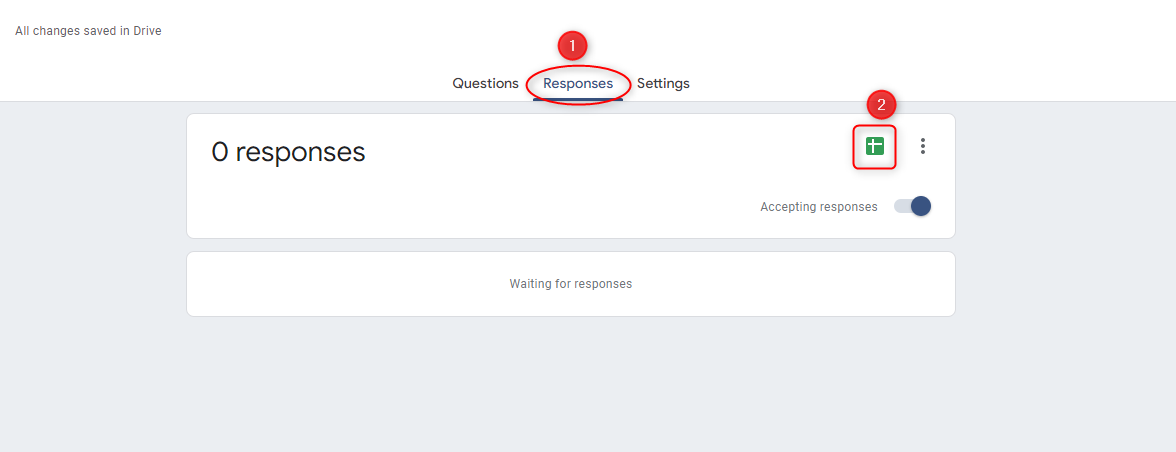
In the pop-up window, check that the first option is selected, Create a new spreadsheet, and click on Create.

The files are now ready on the main Google Drive account. They need to be sent or shared so they can be used on site tablets.
1.3. Setting Up the Tablets
1.3.1. Sending the Form to Tablets
As people on site need to be able to fill out the Form but not modify it, send them an invitation to fill out the Form.
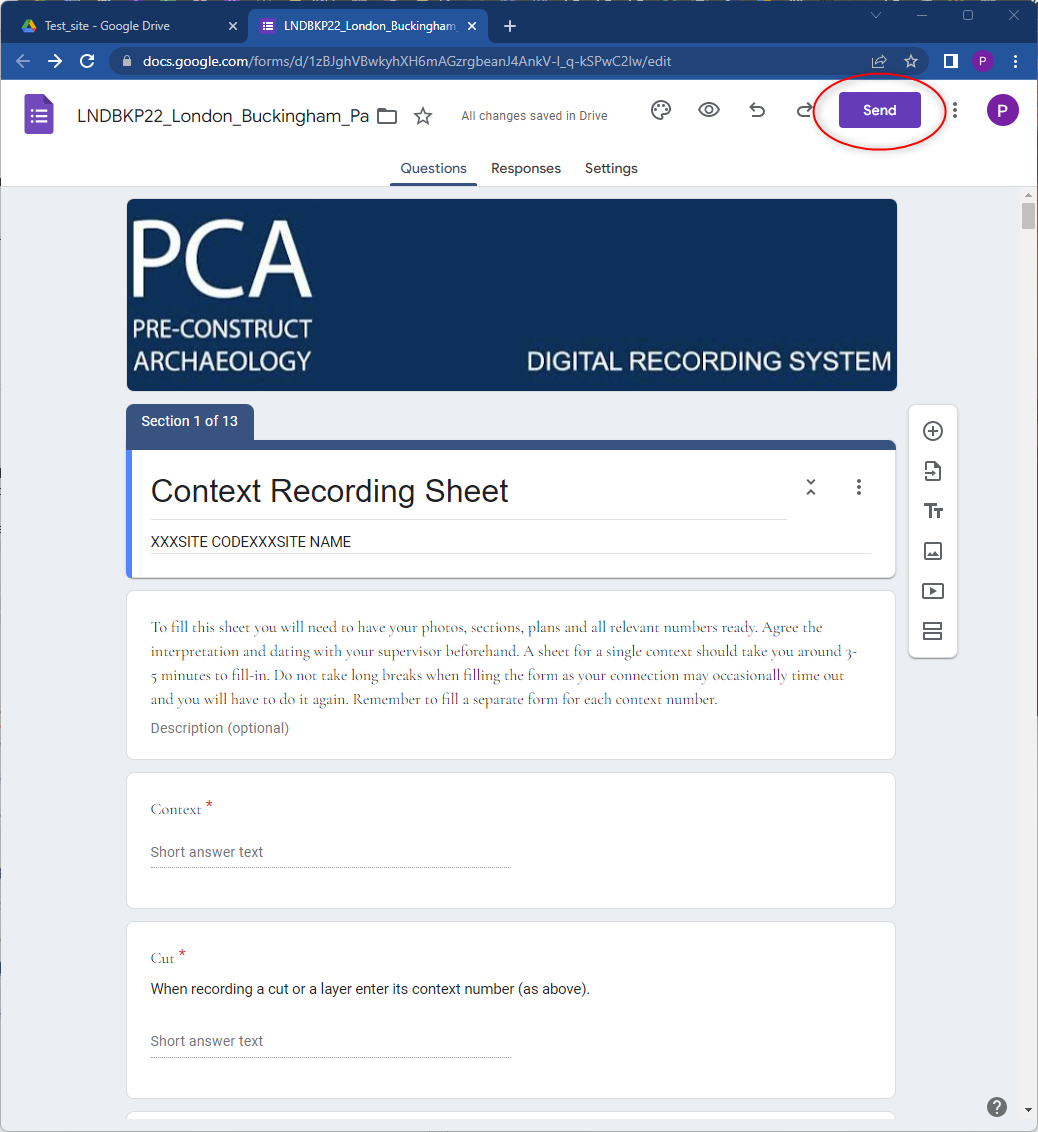
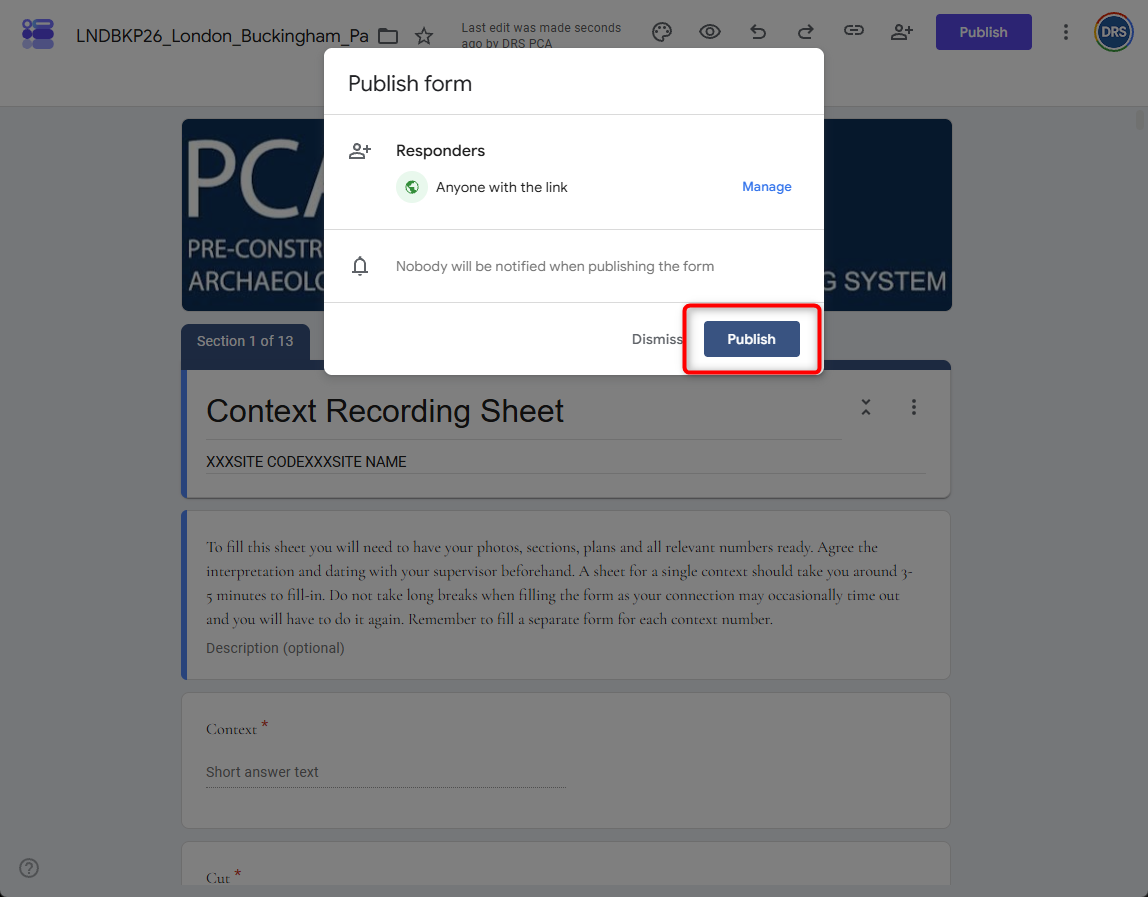
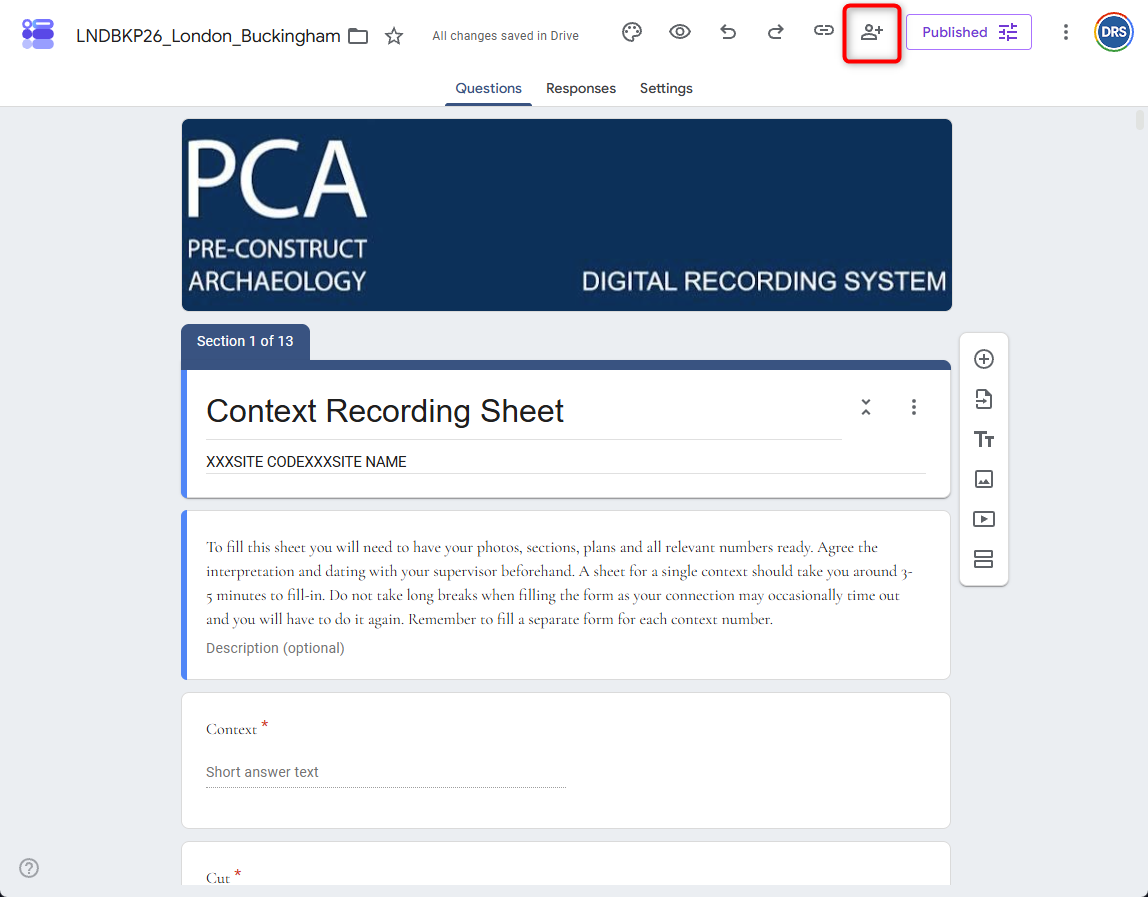
On the open Form, click on Publish.
In the pop-up window, click Publish again to confirm.
After this, the status of the Form will change to Published. You can now share it by pressing the sharing icon on the left of the Published status.
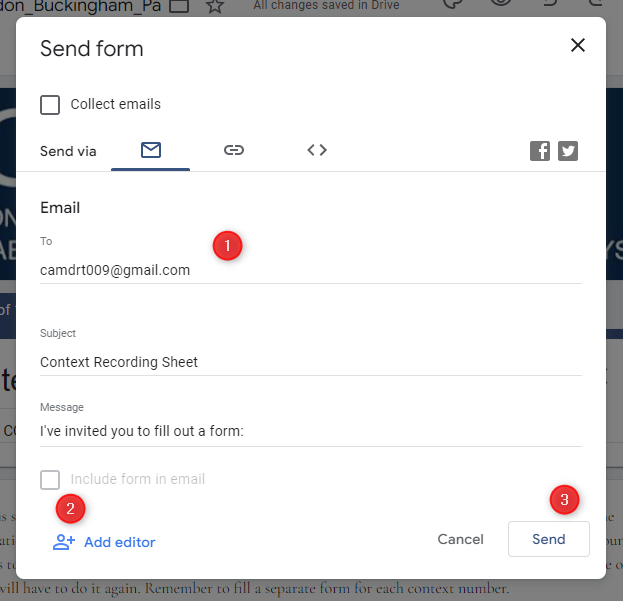
In the pop-up window, add the tablet Google account email address (1). Multiple email addresses can be added at the same time. Check that the status Responder (2) is unchecked and then press Send.
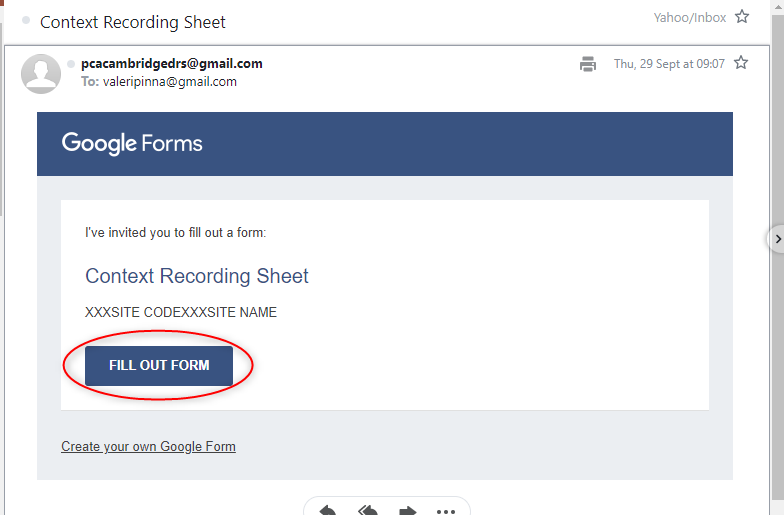
On the tablet, open Gmail to access the received email and click on Fill out Form to open it in the browser.
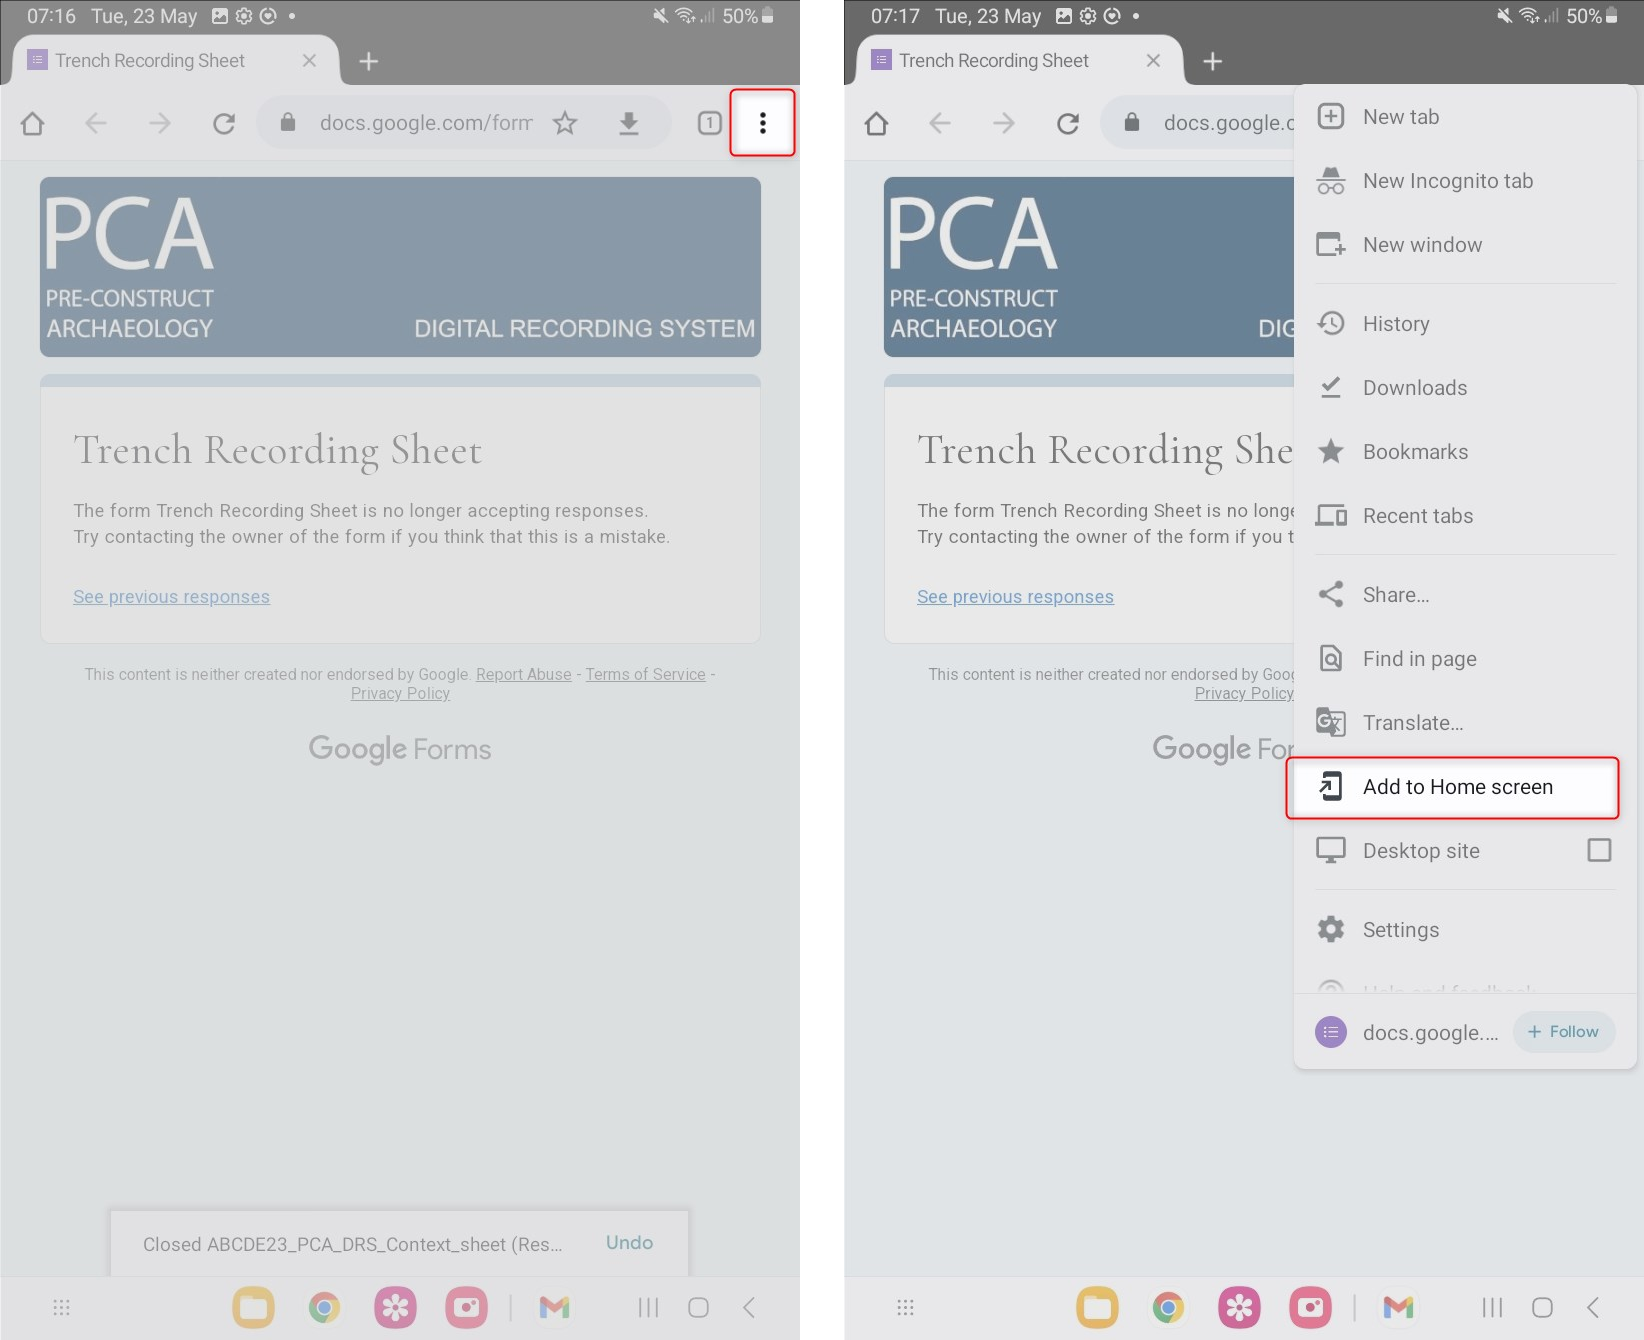
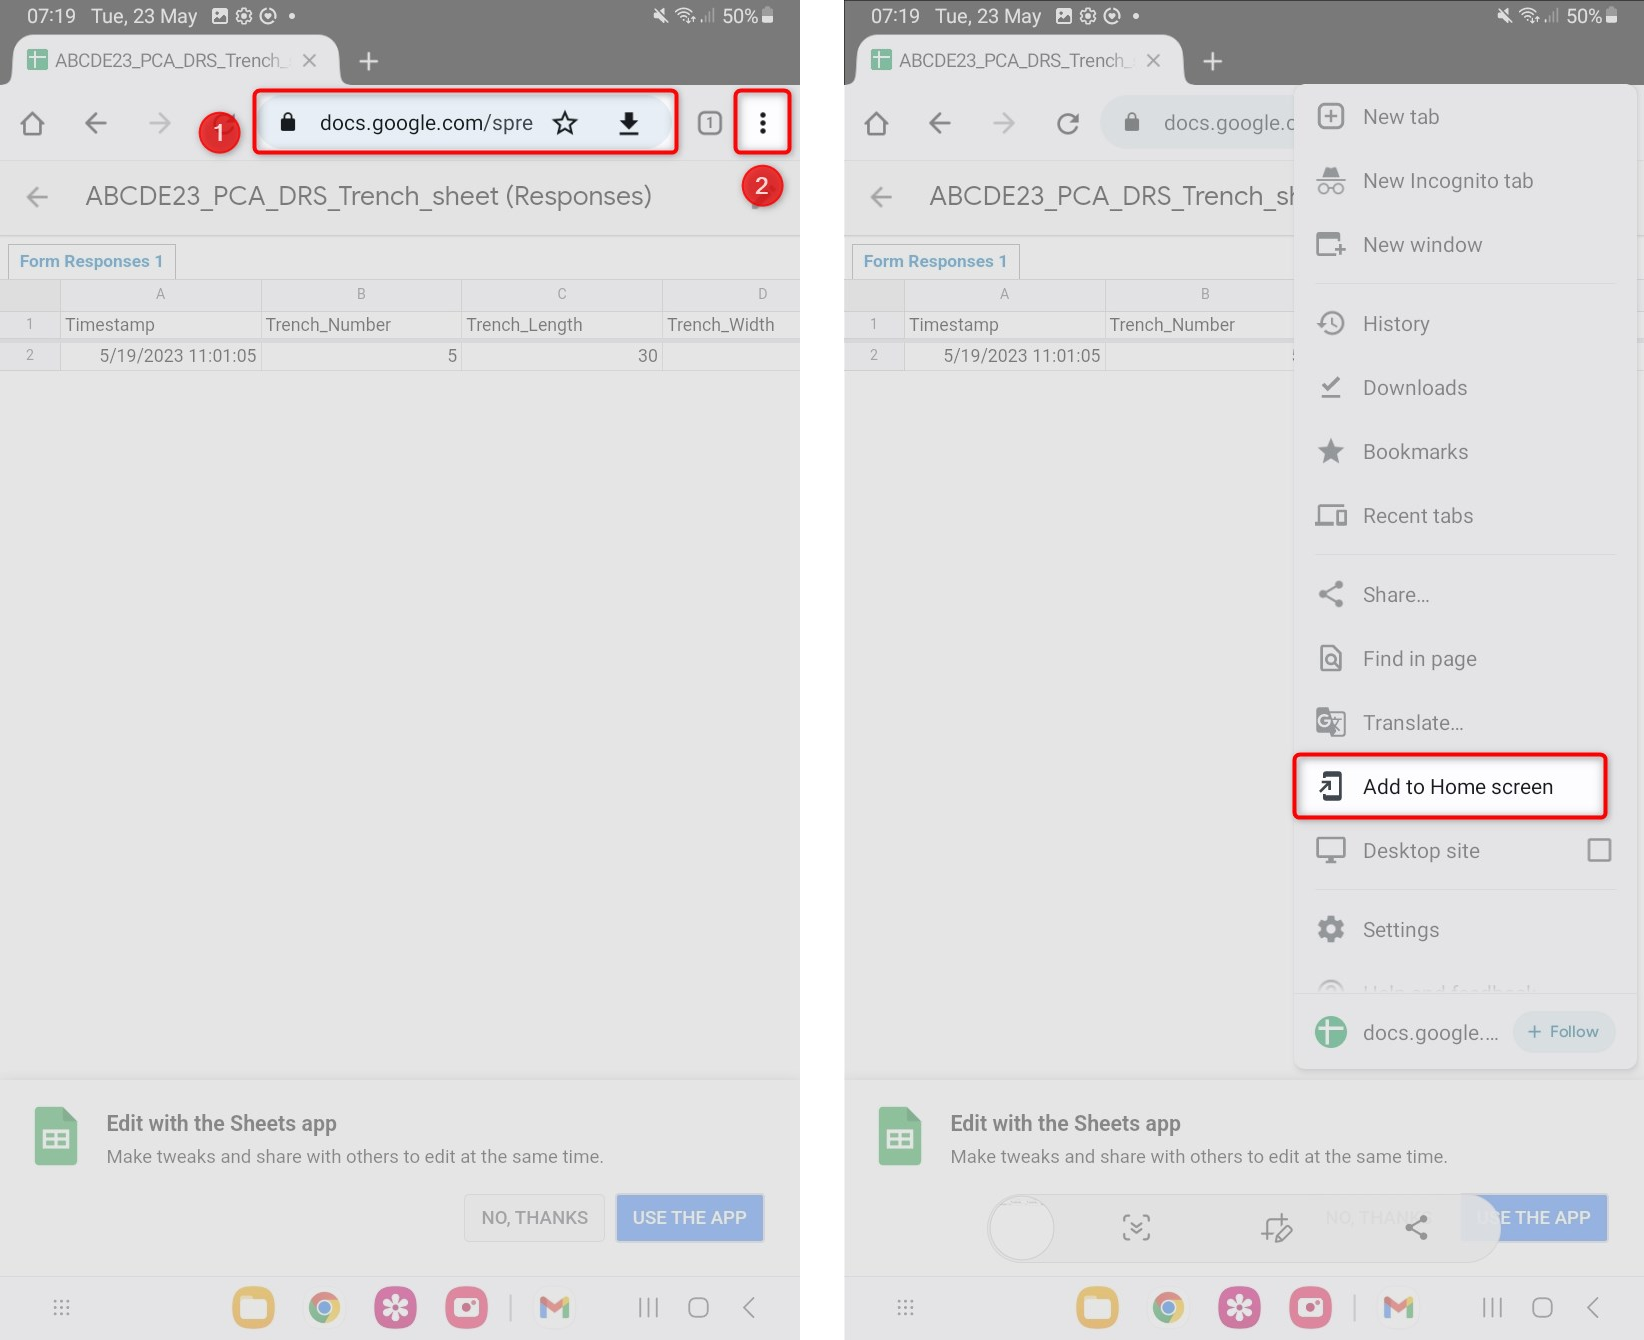
On the browser, usually Google Chrome, the open Form can be added as a bookmark on the home screen for quick access.
To create a bookmark, press the three dots icon in the top-right corner and select Add to Home screen.
Confirm the operation by pressing Add in both dialogues that appear.
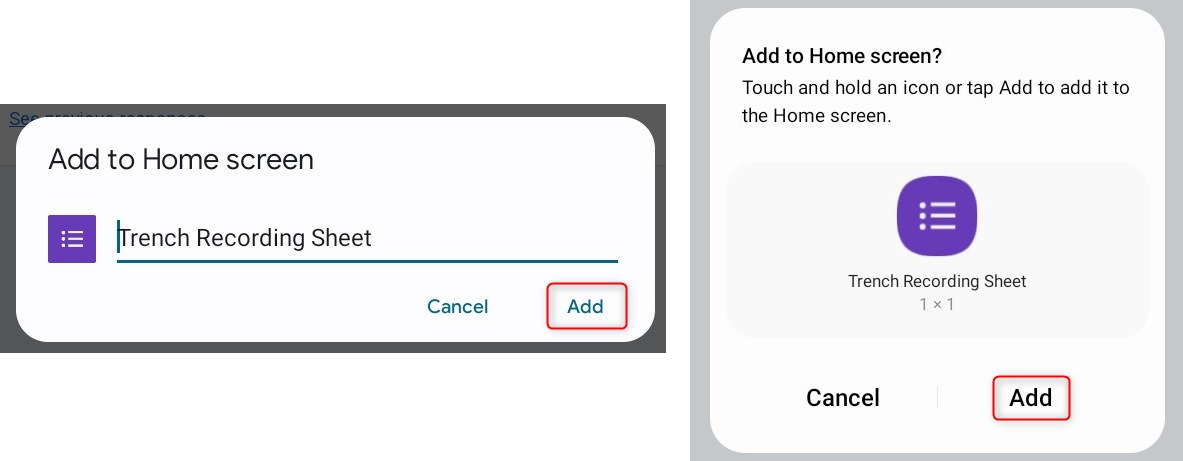
The bookmark will now be available on the home screen.
1.3.2. Sharing the Spreadsheet with Tablets
Unlike the Form, the Spreadsheet may need to be reviewed, commented on, or corrected. For this reason, it is shared directly with tablet users.
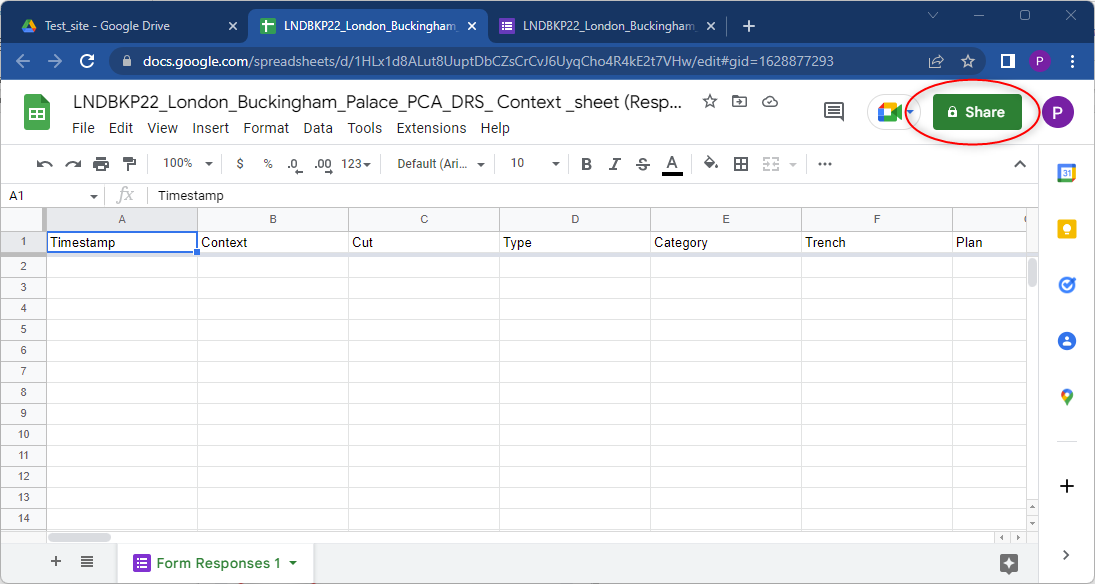
Open the Spreadsheet and click on Share.
In the pop-up window, click on Add people and groups and add the tablet Google account.
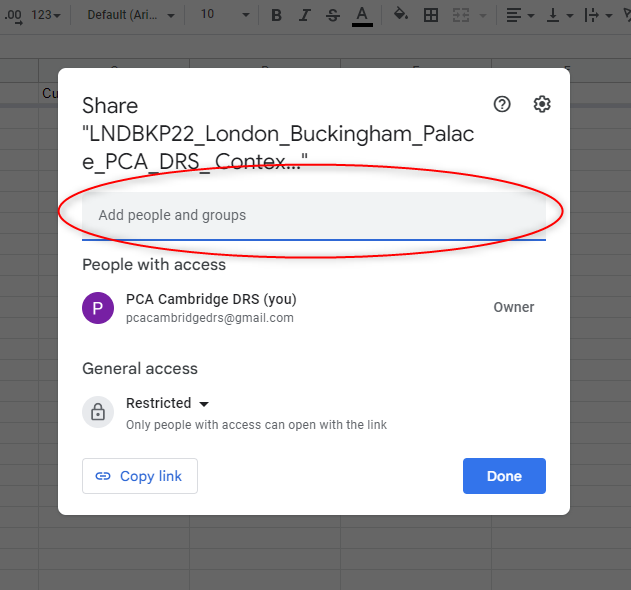
A new window will open. Here you can define the permission level that you want to give to the tablet account.
Click on Editor and select the required option.
Usually, all tablets need at least Commenter permission to allow users to add comments and request corrections or amendments to data inserted through the Form.
Only one tablet, used by the PO or Supervisor, will normally have Editor permission to allow corrections.
Configure the sharing according to the chosen strategy and press Send to share the Spreadsheet.
Repeat the operation for all tablets in use on site.
On the tablet, open Gmail and locate the email containing the shared Spreadsheet.
The procedure for creating the Spreadsheet shortcut is slightly different from the one used for the Form. This is because the Spreadsheet is normally accessed through the Google Sheets app.
Open the email and press Open.
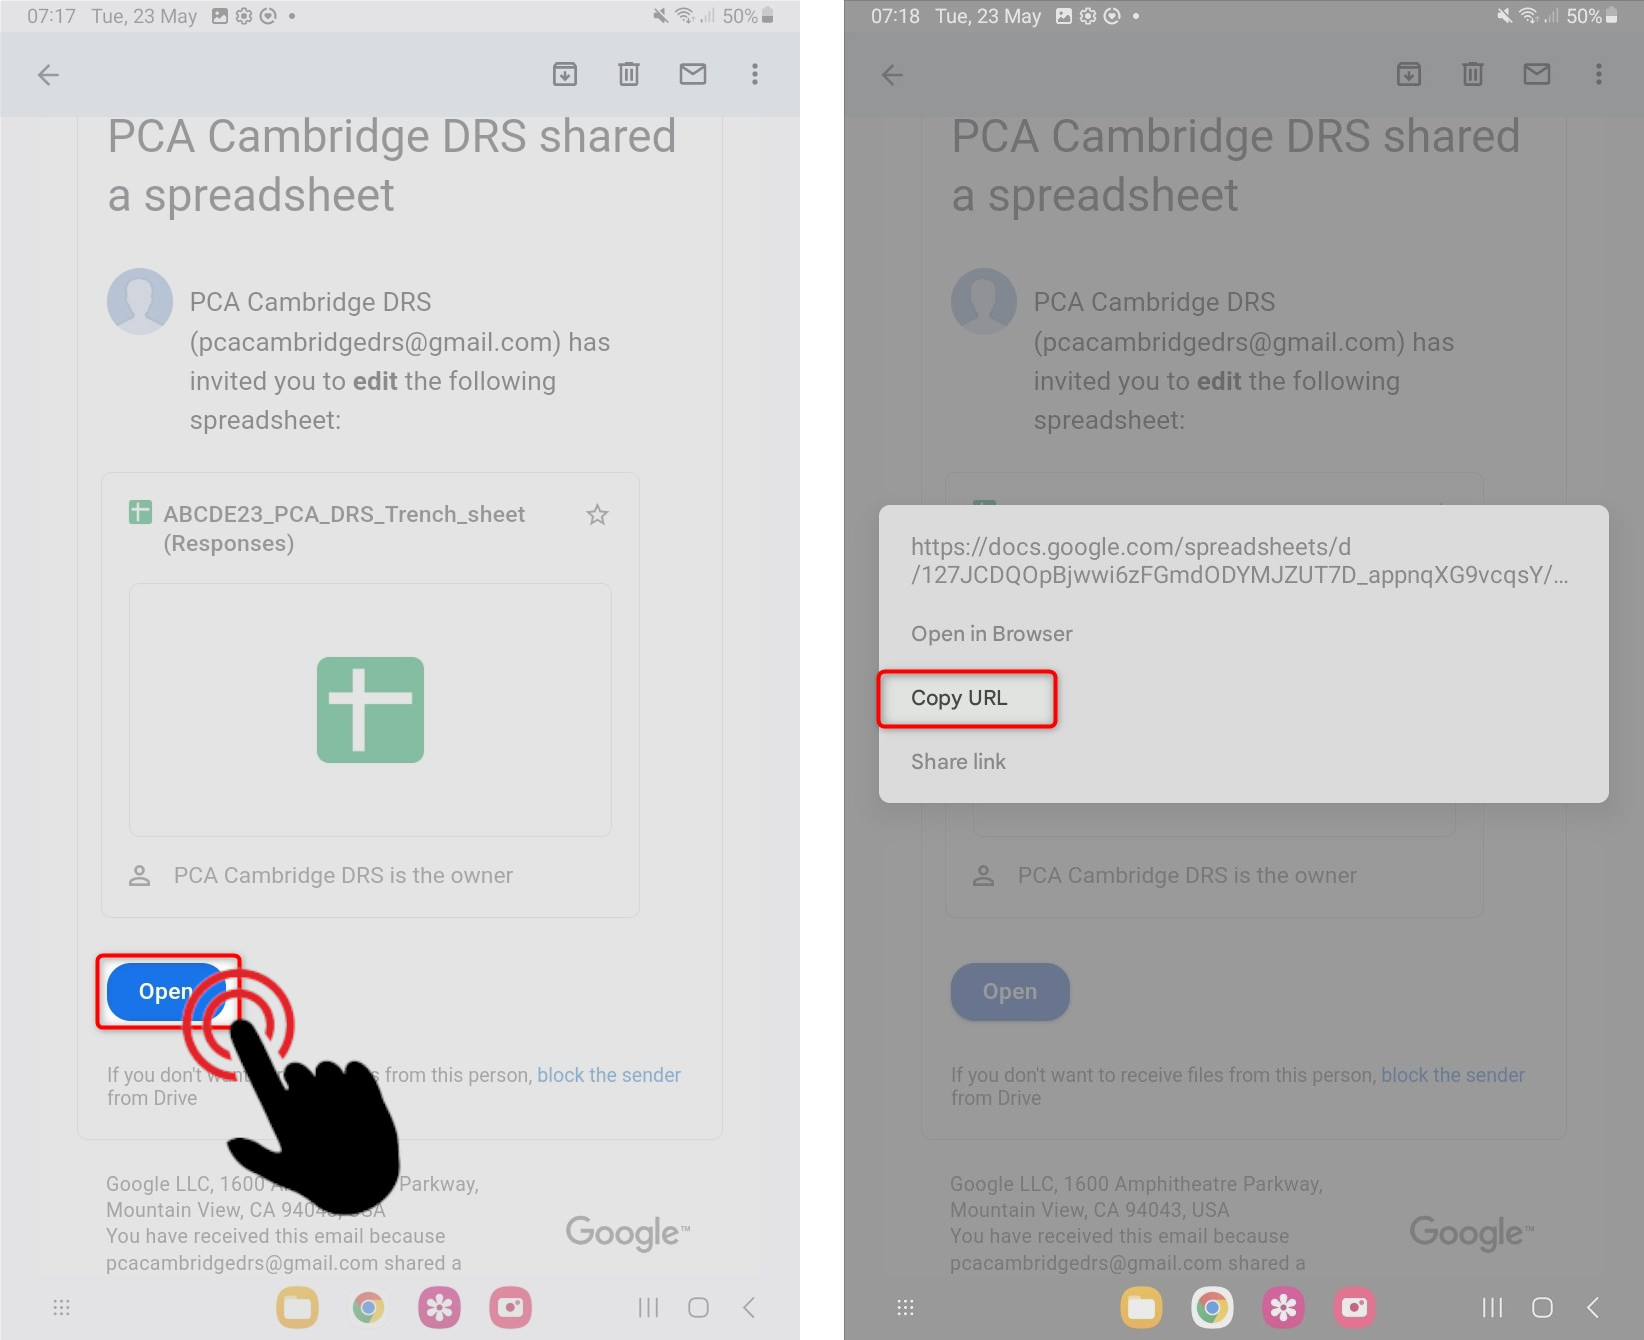
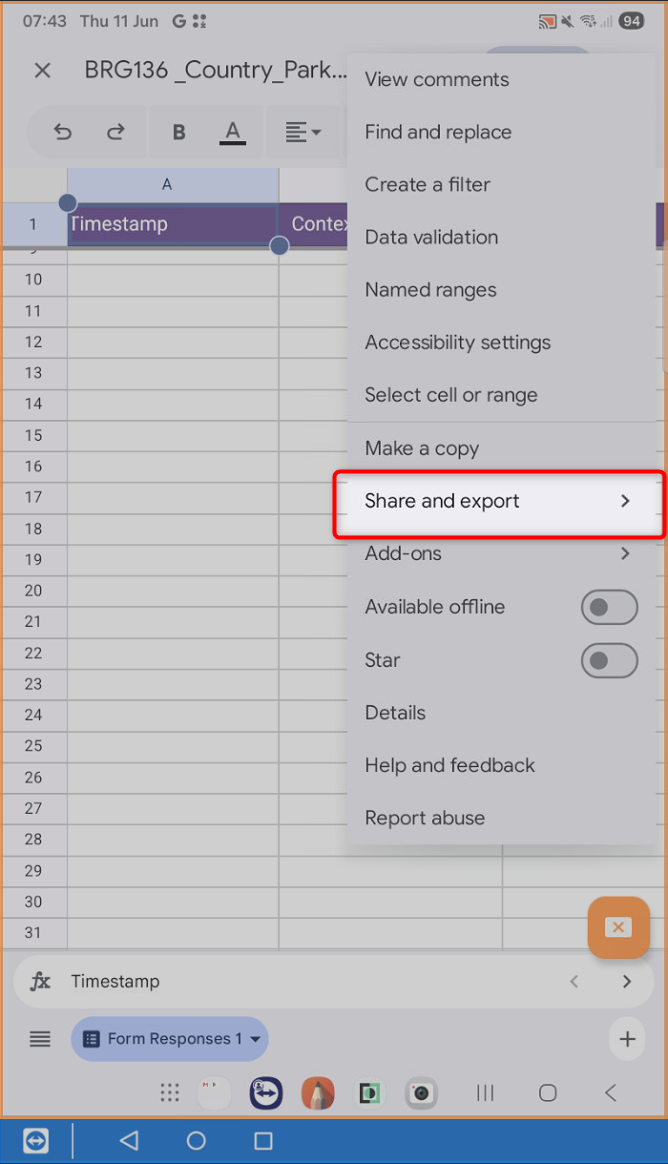
This will open the Spreadsheet in Google Sheets. Press the three dots icon in the top-right corner.
From the menu, select Share and export.
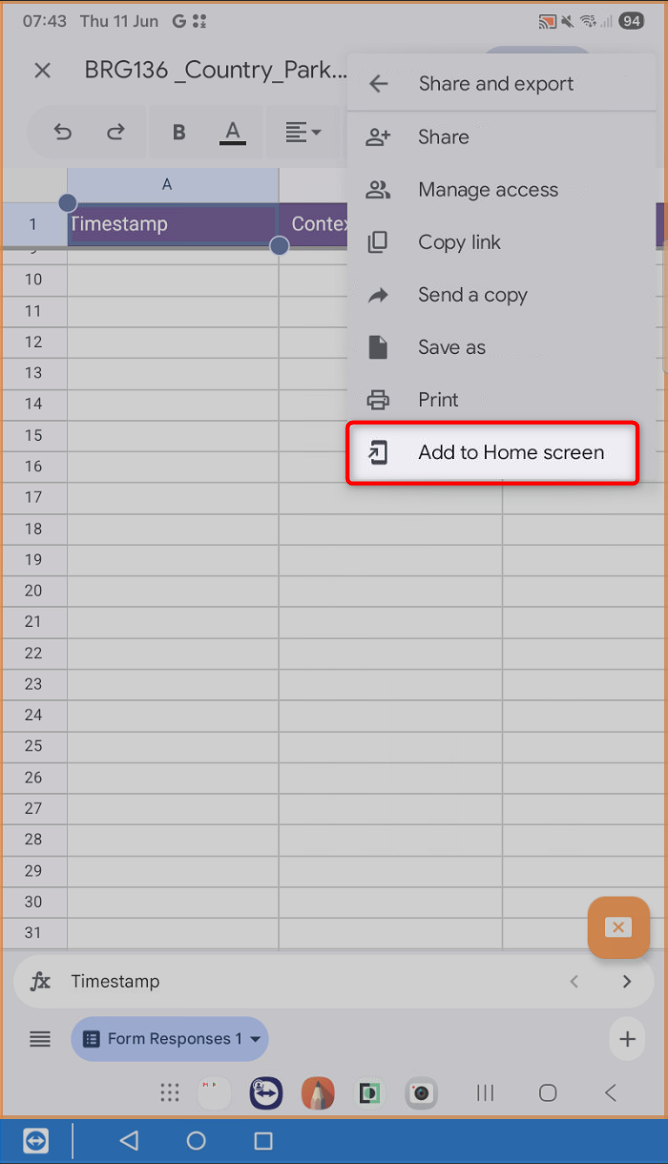
Then select Add to Home screen.
Press Add to confirm.
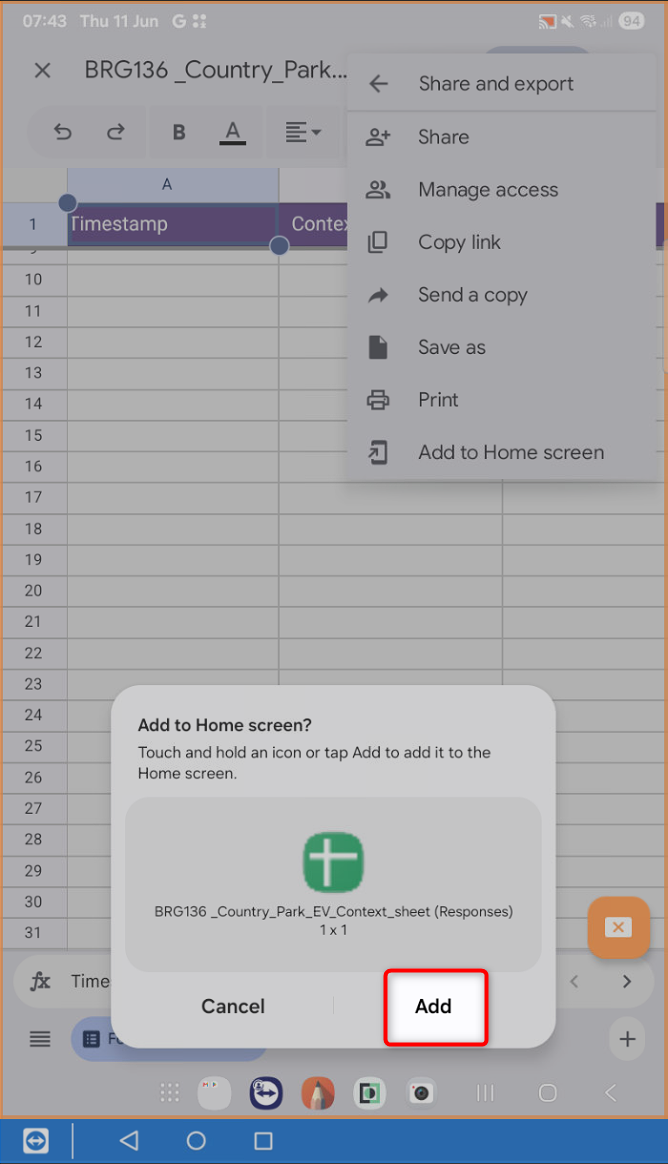
This will create a shortcut to the Spreadsheet on the tablet home screen.
Note
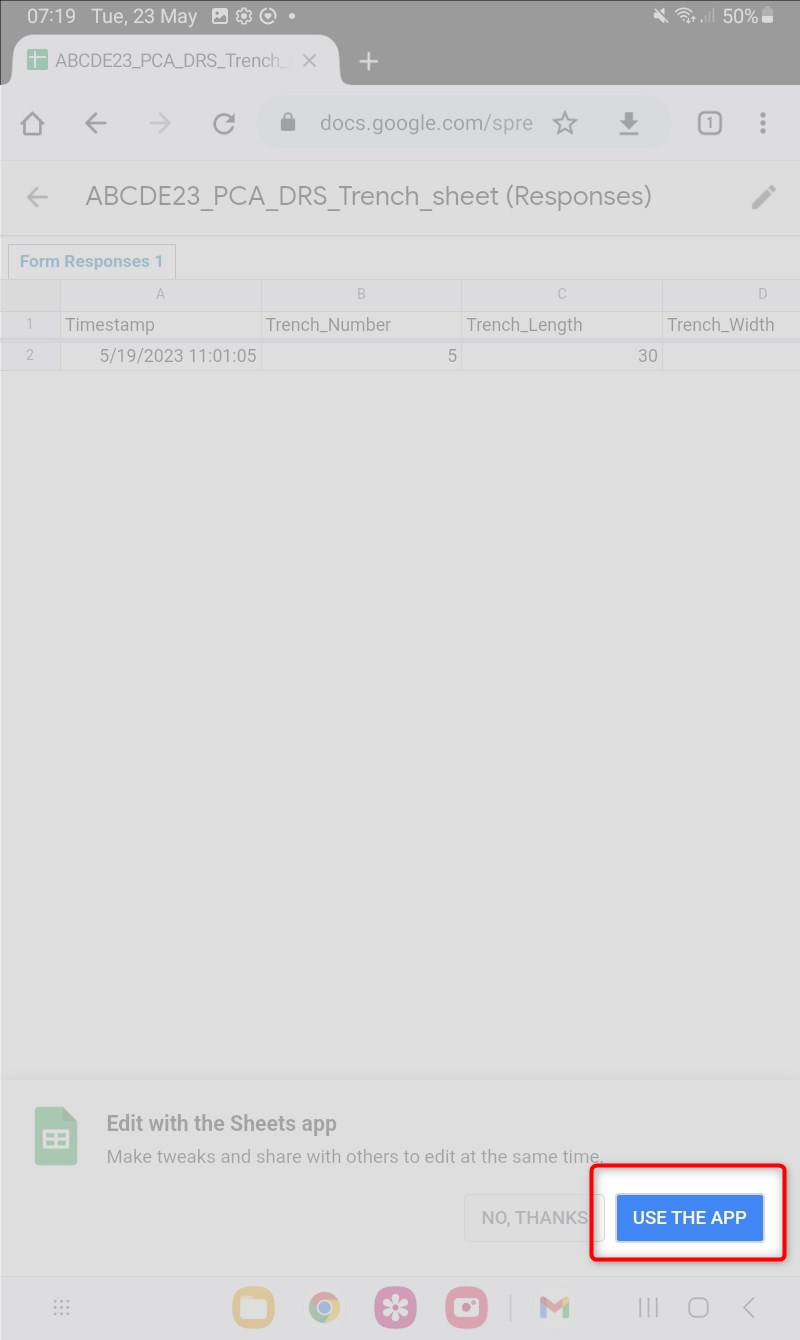
If the Spreadsheet opens in Chrome rather than in the Google Sheets app, you can switch to the app by selecting Use the app in the bottom-right corner. This option normally appears only the first time the Spreadsheet is opened. If you have already selected it previously, this step can be ignored.